hello everyone! ^_^
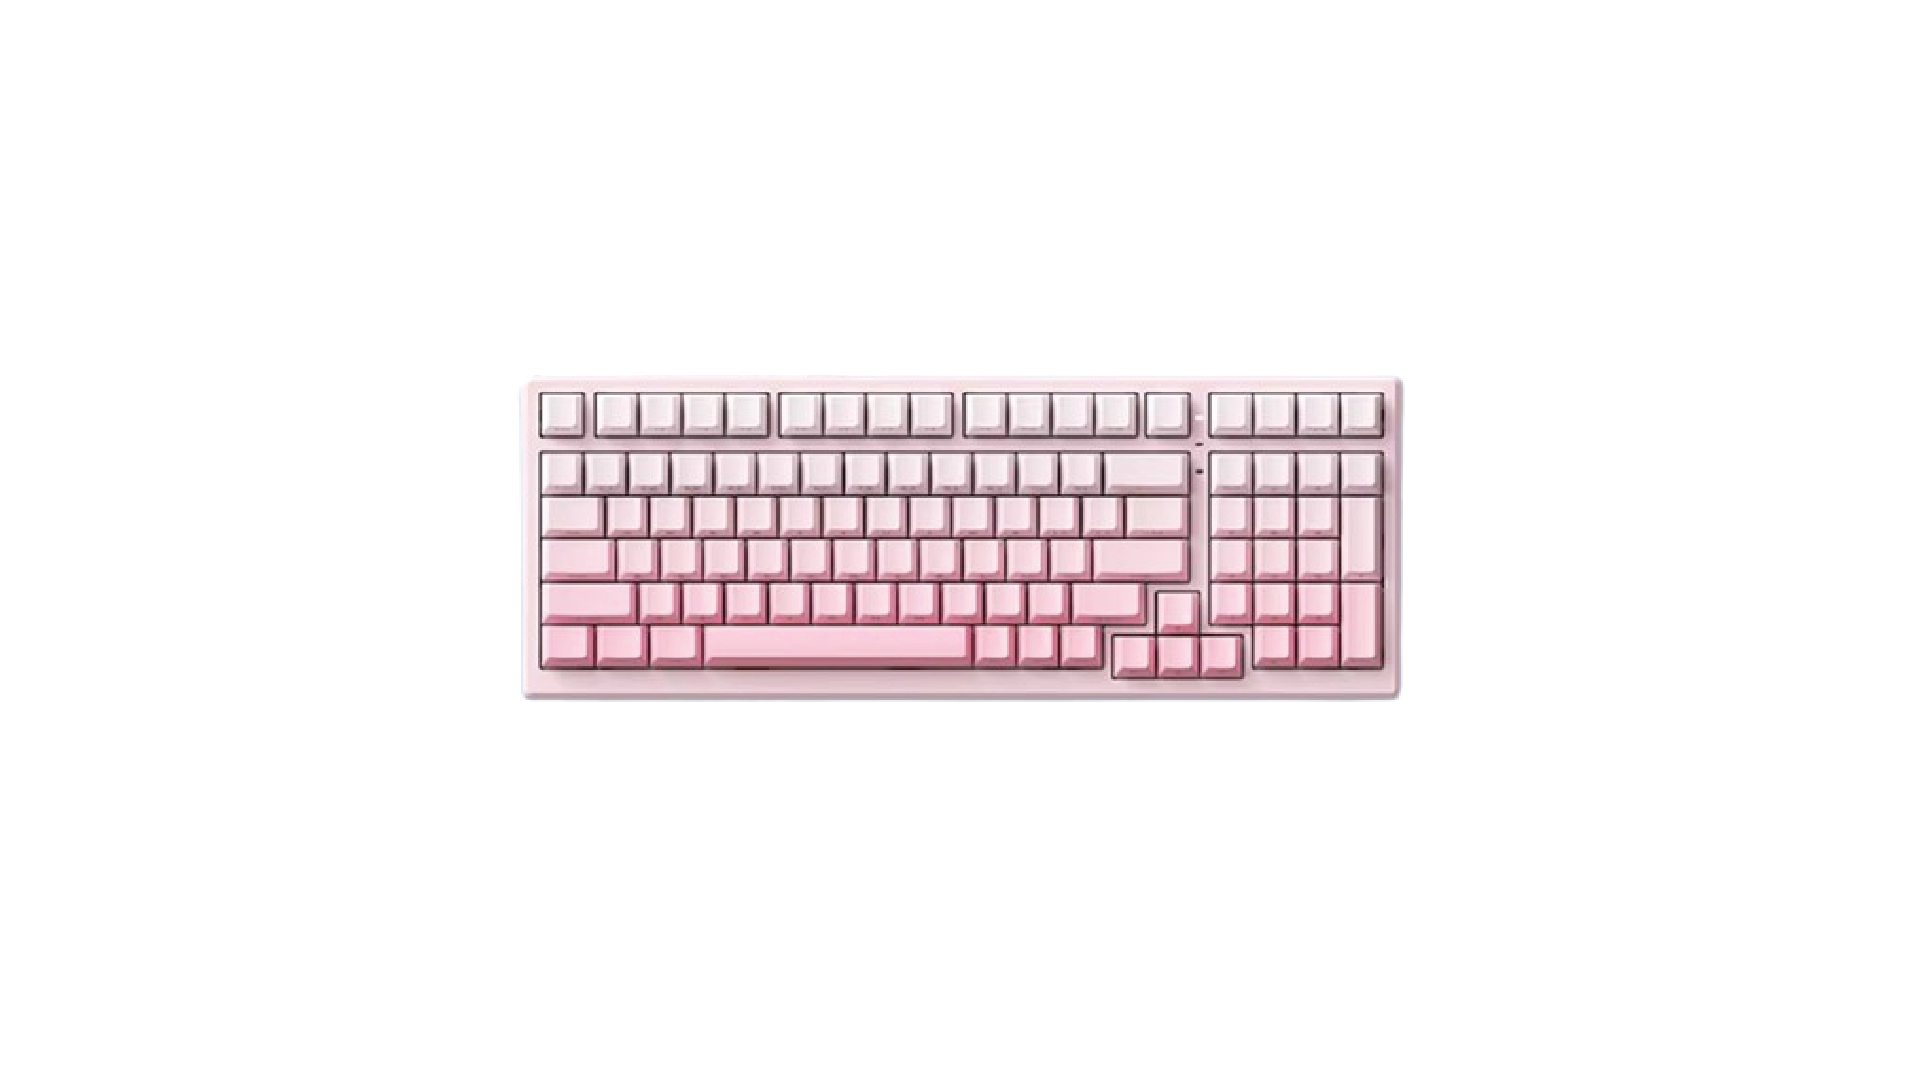
i'll be showing you how to build the ACR pro 68/75 today. the keyboard used is the pro 68, but the pro 75 has the same components and steps.
the keyboard is ready to be used as-is, but this guide is to show you how to add the foam and swap out the polycarbonate plate to the aluminium one.
out of the box
you will have the keyboard, additional aluminium plate, poron foam and extra decal.

there's a cable, keycap puller, switch puller, extra silicone gaskets for the aluminium plate, hex screwdriver, some additional screws and keyboard feet for added height to the board.

step one: remove the screws from the back to open up the case. set aside these screws in a safe secure location (don't lose them!)

step two: remove the top casing

step three: remove the original polycarbonate plate (with the pink stabilizers)

step four: flip the pcb over (you will see the wired part)

step five: add the poron foam. put it on the correct side and make sure it fits correctly to the pcb! once done, flip the pcb back down into the board.

step six: time to swap plates! i prefer the aluminium plate as compared to the polycarbonate (black) one, but it is entirely user preference. if you prefer PC material, skip this step.
at this step, unclip the pink stabilizers (there's a clip at the top or bottom of the stabs). i recommend using a small flathead screwdriver to pry the stabs out.
once done, fix them onto the aluminium plate.

step seven: once swapped, it will look like this. now you're ready to put the silicone gaskets at the edges!

step eight: there two types of silicone gaskets included, i have gone with the long whole pieces for ease. the small ones are used to put at both ends. if you do not have enough pieces, take those from the PC plate.

step nine: once you've fixed the gaskets, use the small screws provided and screw the plate down :) i'm using a small phillips head screwdriver for this.

step ten: line your top casing, flip to the back and fix back the screws used on the bottom housing in step one. now, you are all set and ready to fix your switches!

hope this guide is helpful for anyone building the Akko ACR pro 68/75. if you're unsure about any of the steps, feel free to reach out! i'll be glad to assist you in any way i can. :)


![[build guide] Akko ACR pro 68/75 with aluminium plate](http://momokeebs.com/cdn/shop/articles/SPR75-04.png?v=1725453350&width=1100)
![[keeb guide] keyboards 101](http://momokeebs.com/cdn/shop/articles/DSC04345.jpg?crop=center&height=80&v=1725453421&width=80)
![[build guide] switch/stabs/board modifications](http://momokeebs.com/cdn/shop/articles/DSC02722.jpg?crop=center&height=80&v=1725453388&width=80)