here we'll see how switch modifications work! this is a step by step guide, and it's perfect for beginners to get started on adding their own personal touch to their switches.
every single component that you add to your keyboard affects the overall sound and feel, from keycaps to switches, mods, board, material, even your desk mat. so these are what you can do internally to zhush up your keyboard.
tools that you will need: keycap puller (if you have keycaps on), switch puller, switch opener, switch & spring lube and mini brushes. you'll see all the tools i have been using in this post, as well as reels on @momokeebs instagram!
1. switch lubing
why lube your switches? switches are great as they are when they are stock, but we sometimes want to take it to the next level. it helps improves the sound, less rattling and smoother actuation (the force you input to activate the switch upon pressing it)
although it is a long, timely process by dismantling each switch and lubing them by hand, it will sure go a long way once you put everything together and start typing. also quite therapeutic and tests your endurance and patience haha.
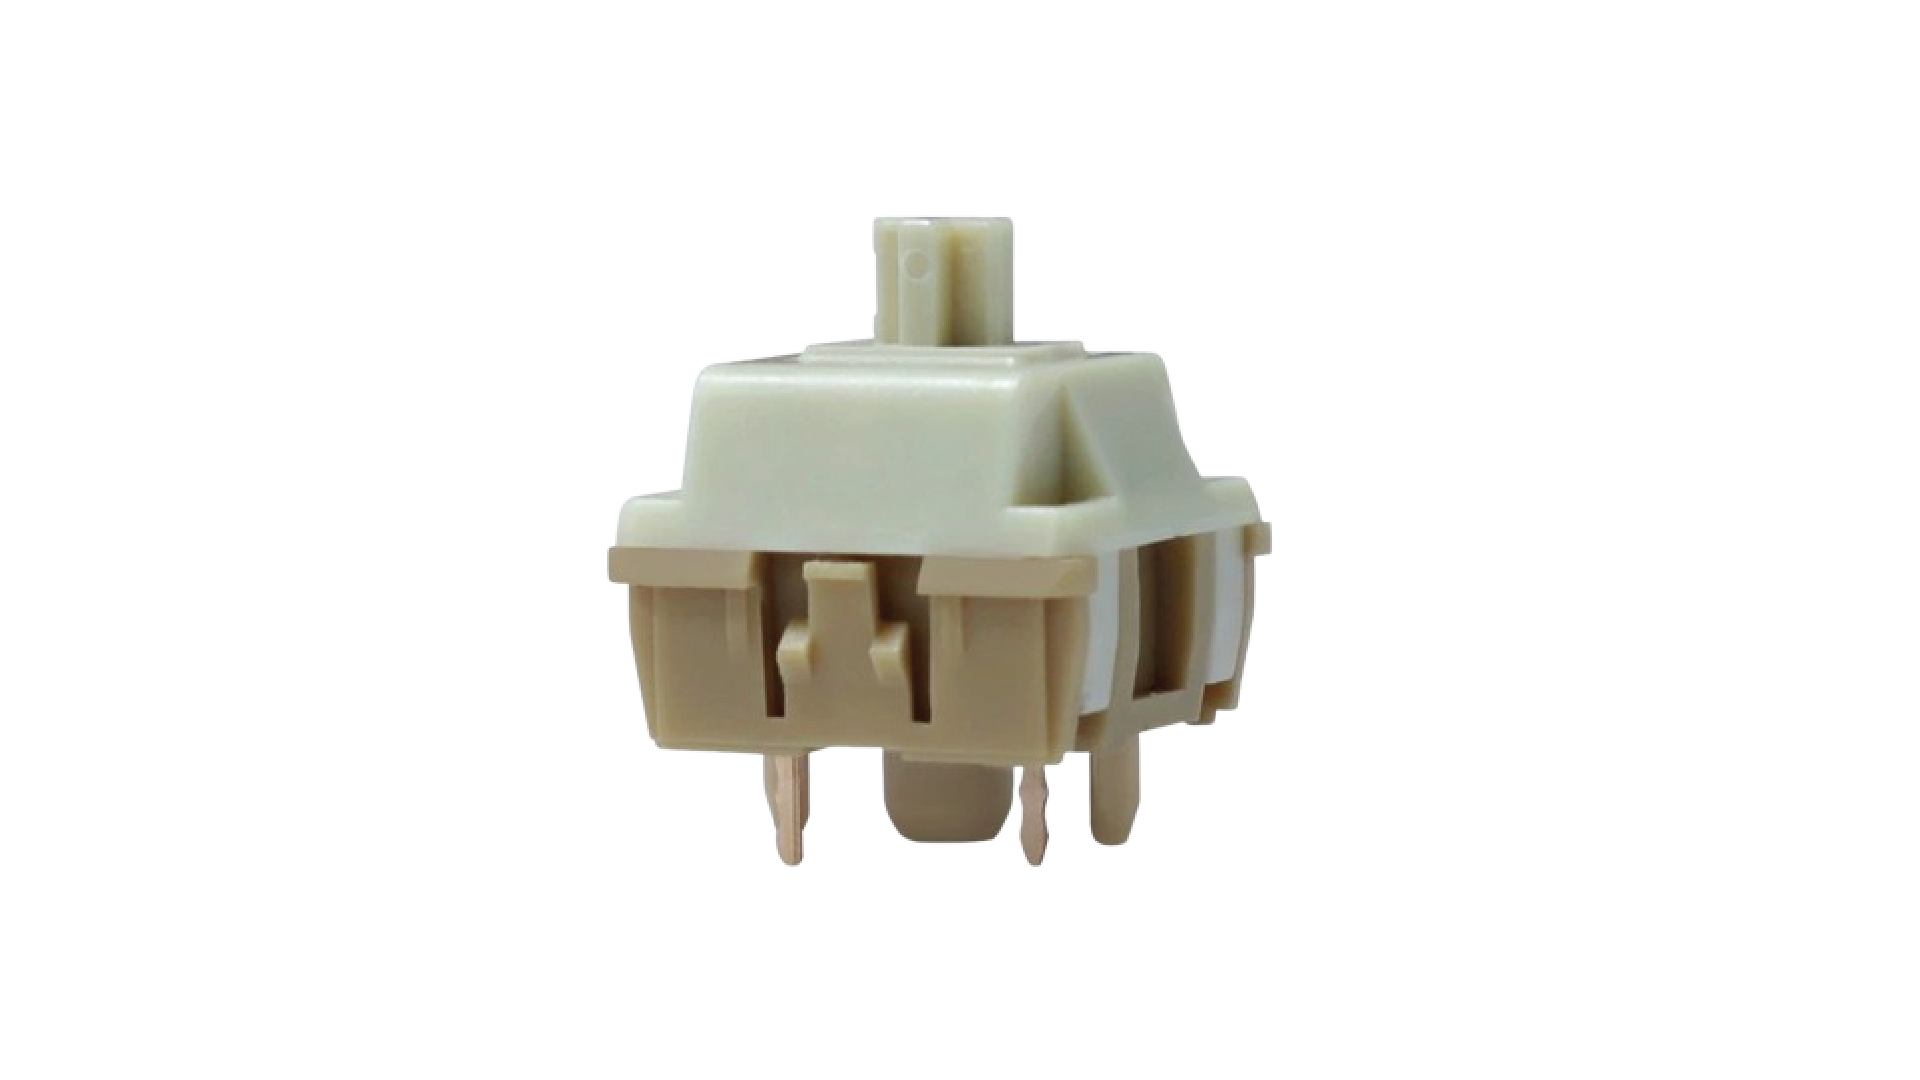
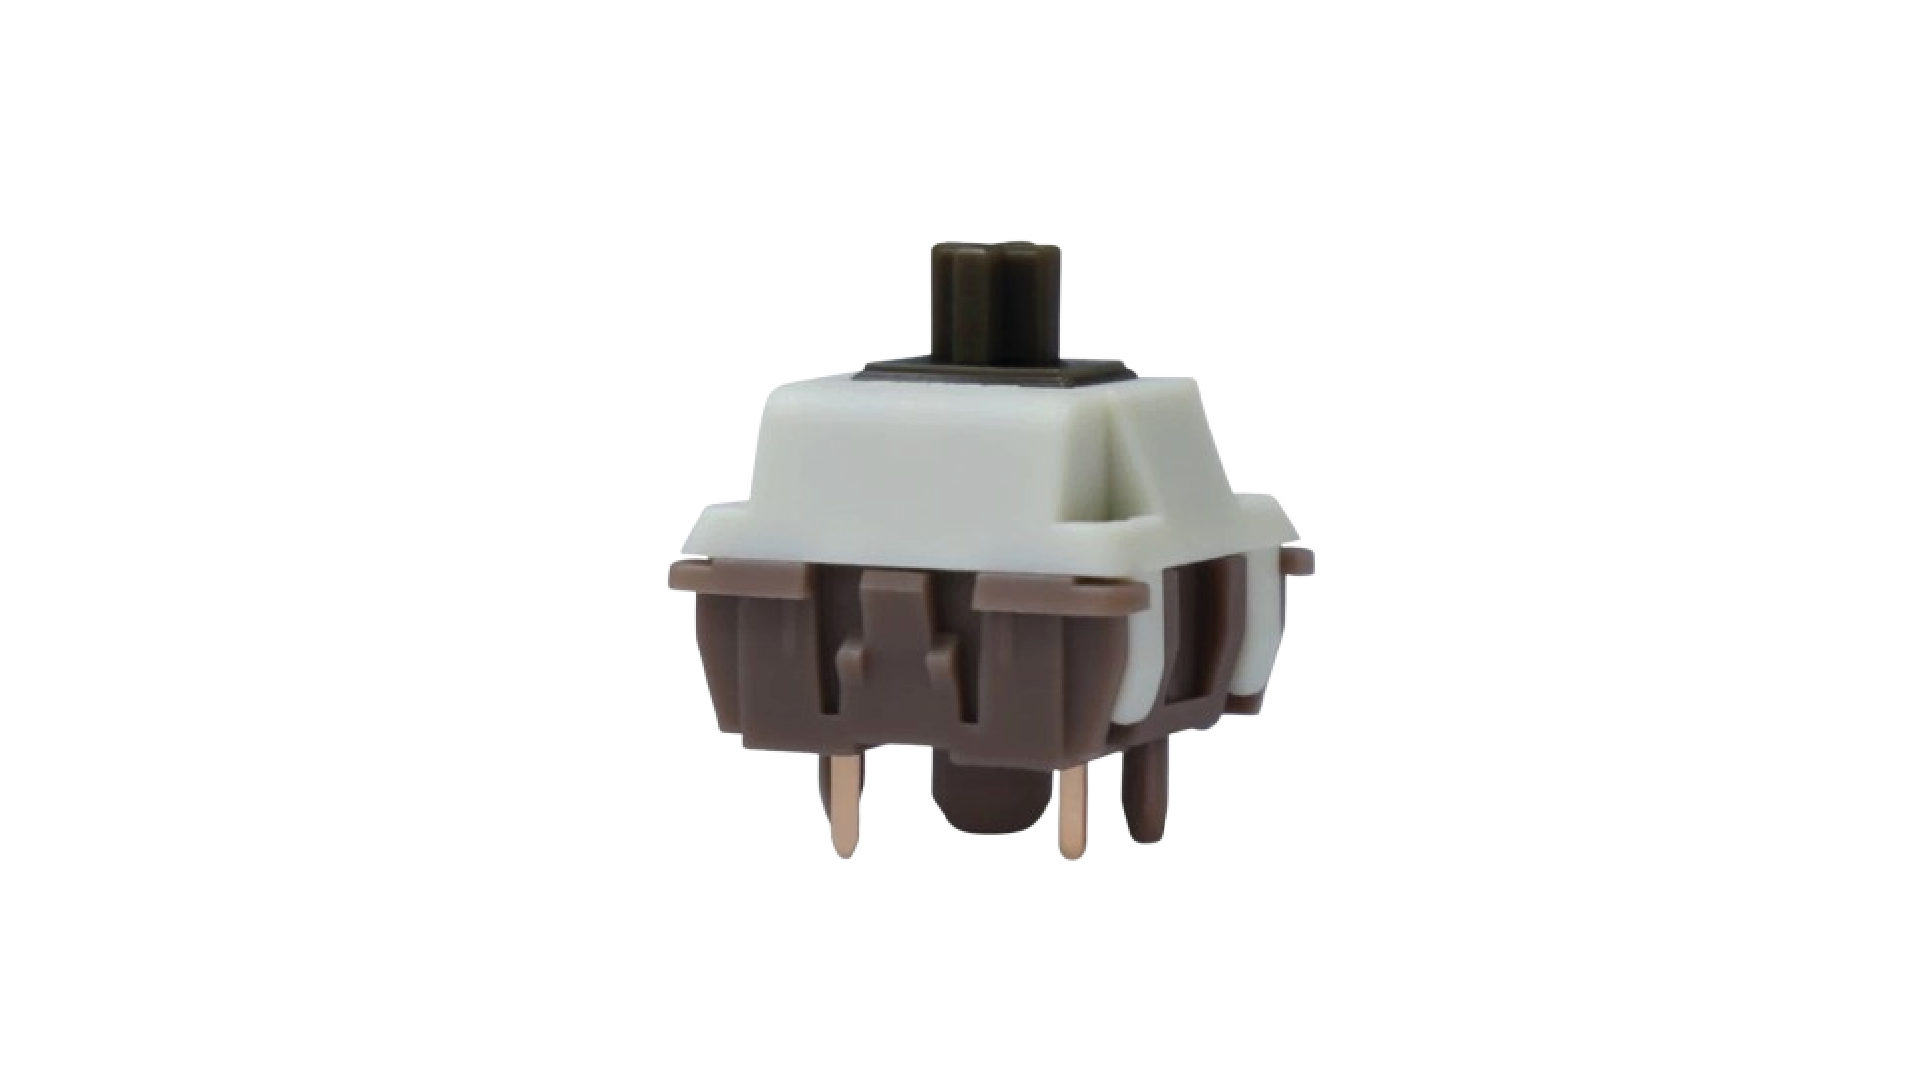
your station might start out looking like this - after pulling each switch apart and categorizing them by top and bottom housing, stem and springs.


It's best recommended to lube tactile and linear switches, but not clicky ones as they might eradicate the clickyness altogether.
step 1: lubing the bottom housing
start by lubing the side walls, bottom floor and internal + external cylindrical component.
step 2: lubing springs
the quickest and fastest way to lube springs is to toss them all into a bag, pour lube oil into it and shake them up real good.
At momokeebs, we use Krytox GPL 105 lube oil for this step.
step 3: lubing the stems
for tactile switches, apply lube to the side of the stem, the spring contact portion (cylindrical component) but avoid the legs (the 2 little feet that sticks out infront on the left side)
for linear switches, apply the same way as tactile but include the stem legs.
At momokeebs, we use Krytox 205g0 lube for optimal thickness and viscosity.
step 4: top housing
apply lube to the side walls where the stem has contact with it. (same side walls as the bottom housing)
and.. you're done! fix the switches back to their original state - if you have forgotten how it goes, you may want to leave out 1 switch just for reference. the configuration for switches are strict, so if you have mismatched the order, it will not snap back.
thereafter, you may assemble your switches into your keyboard and give it a quick test. we use https://www.keyboardtester.com/tester.html to test all our keyboards before we send them out to you.
2. switch filming
so, what's the point of putting film in your switch? apart from lubing, adding film can further dampen all of the ratting by tightening the gap between the top and bottom housing and getting a smoother typing experience.
filming will be the easy part after pulling apart the switches, and you can insert the film inbetween by hand. for more precision, you may use a tweezer.

place your film like how we did it in the photo above and make sure it rests on the bottom housing (so it doesn't move about). once set, you may snap your switch back into its original state and, voila! all done.
if your film is not symmetrical top and bottom, do follow the shape of your switch's bottom housing so that it fits perfectly.
switch filming is purely optional as the effects are minimally noticeable. but still, a good added feature to amp up your keeb experience.
3. stabilizers (or, stab) lubing
aha! have a keyboard but keys with stabs (i.e. backspace, enter, caps lock and spacebar) feels different, and gives off a hollow rattling when you press on it?
here comes stab lubing. there are many different types of stabs available, but we will focus on clip-on stabs for this post.
as the clips are tiny, it is recommended to use a tiny flathead screwdriver (or a proper tool... we just use what's available). press the clip and push them in the same direction, downwards and upwards to scoop the clips up. be as careful as possible to not scrape your board!
here are the replaced stabs for our MK870, that has a gold shaft and more accurate satellite axis.
before getting new stabs, do make sure that they are compatible with your board.

the magic happens once you lube your stabs. the stem works only in the same configuration as the stock ones, so be sure to remember the placement.

after dismantling the parts, lube the shaft, stem and external housing. go generous with the lube! it will drastically change the experience after. we use tweezers to avoid contact with the parts to not wipe off any generously-laden lube.
once you're done applying, snap the stabilizers back into place, and assemble them onto the board.


they should fit nice and snug on the board, and then give it a whirl :)
4. pcb mods
there are many ways to mod your board - with tape, foam, silicon molded, but we will focus on the simplest way! using foam stickers. the foam material helps dampen impact onto your board upon actuation, so it's a great nifty fix.

lay each sticker onto the board carefully with tweezers. for added accuracy, you may do this step after dissembling the board. but with a little more patience.. you can do it just with the board intact XD
be sure to not cover the LED or switch pinholes so that the light can still shine through and your switch can still transmit data onto the board.
yay! we've come to the end. i hope this runthrough helps shed light on any reader that have questions about keyboard modifications. we do not carry any lube or stabs on our site at this point, but do feel free to shop around for them! :) we will be glad to assist you if you have any doubts.




![[build guide] switch/stabs/board modifications](http://momokeebs.com/cdn/shop/articles/DSC02722.jpg?v=1725453388&width=1100)
![[build guide] Akko ACR pro 68/75 with aluminium plate](http://momokeebs.com/cdn/shop/articles/SPR75-04.png?crop=center&height=80&v=1725453350&width=80)